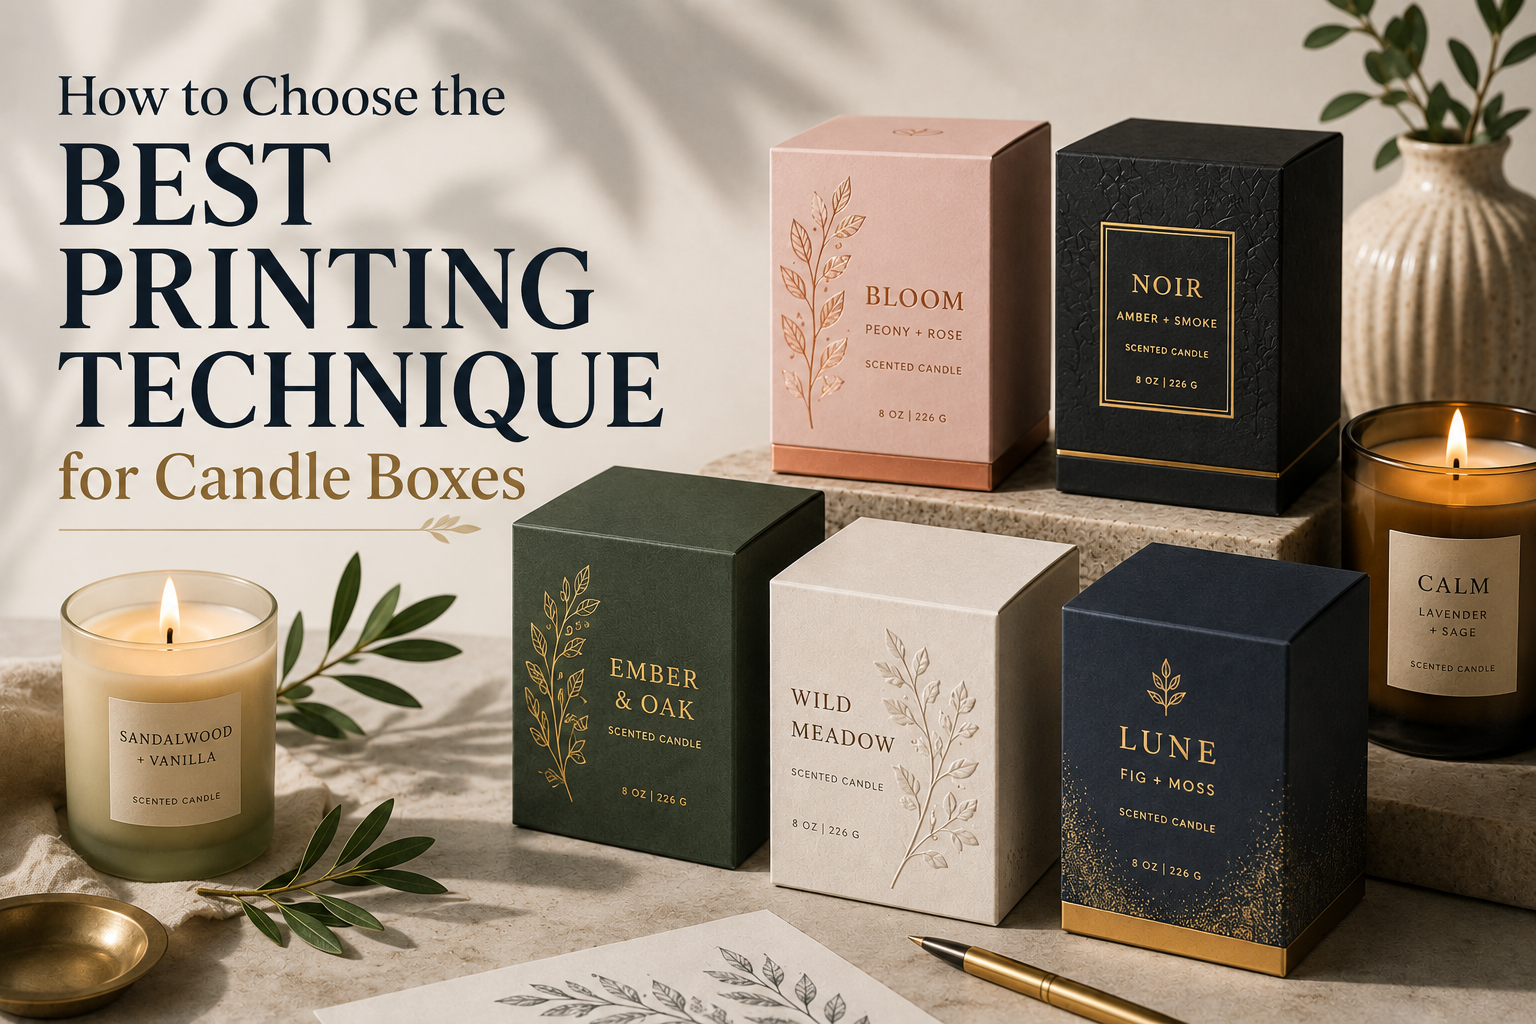
Best Printing Technique for Candle Boxes
Let’s be straight about this. There’s no single right answer when it comes to printing candle boxes. What works beautifully for one brand could be a complete waste of money for another. The decision really comes down to two things: how many boxes you need and what your brand stands for.
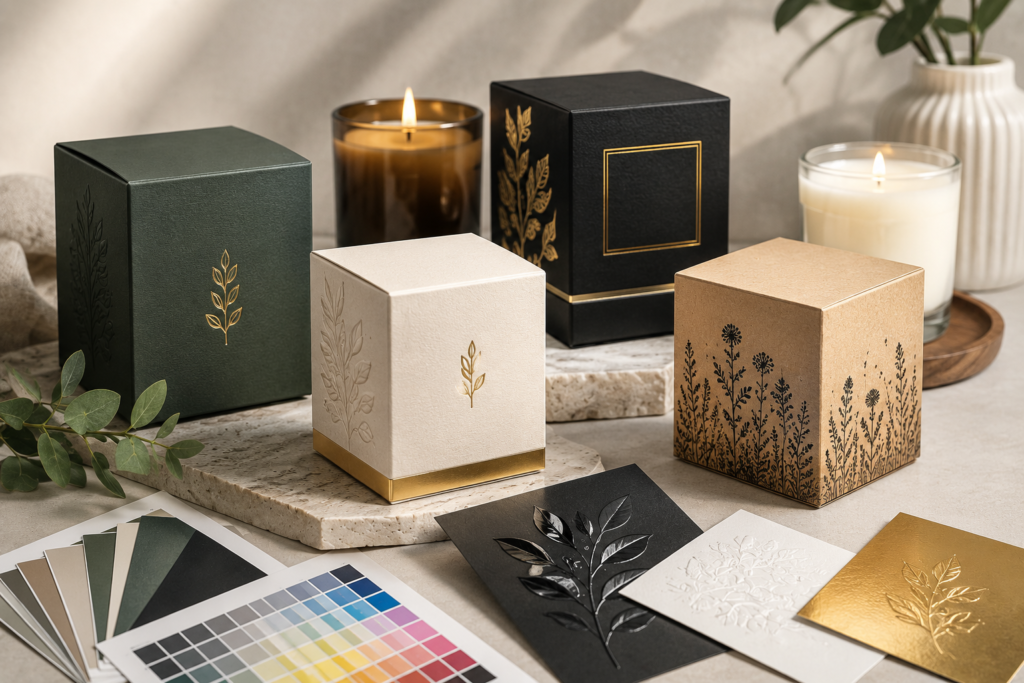
A run of more than 1,000 boxes will often suit offset printing, mainly because the unit cost becomes more reasonable at that volume. Digital printing is usually the better fit below 500 boxes, where paying for plates would add unnecessary cost. Luxury candle brands often use foil or embossing to give the box a stronger finish. Brands with sustainability goals should pay particular attention to the inks and coatings used, whichever printing method they select.
Let’s Look at Each Printing Method
Offset Printing
Offset lithography has been the workhorse of the packaging industry for decades. Here’s the simple version: your design gets etched onto metal plates, one plate for each color. Those plates transfer ink onto a rubber blanket, which then rolls the image onto your box board. It sounds complicated, but it produces exceptionally clean, consistent results.
When offset makes sense for you:
- You’re ordering 1,000 units or more
- You need exact color matching with Pantone spot colors
- Your design includes fine details, small text, or photographic elements
- You want the lowest possible per-unit cost at scale
Where offset falls short:
- You’ll pay several hundred dollars in plate-making fees upfront
- Production typically takes one to two weeks
- It simply doesn’t make sense for small quantities
I’ve worked with candle brands that insisted on offset for their first 250-unit run because they wanted “the best quality.” They ended up paying almost the same price as they would have for 2,000 boxes. That’s an expensive way to learn how printing economics work.
Digital Printing
Digital printing works like the laser printer in your office, just scaled up significantly. Your digital file goes straight to the press—no plates, no setup fees. The machine lays down toner or liquid ink directly onto your material, and out comes your finished box.
When digital is the right call:
- You’re ordering fewer than 500 units
- You want boxes in hand within a few days
- You’re testing a new design or seasonal scent
- You don’t want to commit to a large inventory upfront
What digital won’t give you:
- The same per-unit savings as offset on large runs
- Perfect Pantone color matching (close, but not identical)
- Compatibility with every material type
Here’s what I tell new candle makers: start digital, validate your design, prove your product sells, and then transition to offset when you place your first big reorder. You’ll save money and avoid sitting on hundreds of boxes for a candle that didn’t resonate with customers.
UV Printing
UV printing uses ultraviolet light to cure ink the instant it hits the paper. The ink doesn’t absorb into the material, it sits on top and dries instantly. This creates a durable, raised effect that stands up to handling and feels distinctive to the touch. Spot UV applies this effect to specific areas rather than the entire box surface.
Why brands choose UV:
- Creates a tactile, glossy texture that customers notice immediately
- Resists scratching, scuffing, and fading better than conventional inks
- Dries instantly, so production moves quickly
- Performs well on dark or uncoated papers where standard inks struggle
What to keep in mind:
- UV printing adds to your overall cost
- Not all packaging printers offer this capability
- It works best as a selective treatment, not an all-over application
I’ve seen a small amount of spot UV lift an otherwise plain black box. I’ve also seen it used across too much of the design, which made the packaging look loud instead of premium. It usually works best on one area, such as the logo, a background pattern, or a single graphic.
Foil Stamping
Foil stamping uses heat and pressure to transfer a thin metallic film onto your box surface. There’s no ink involved at all. The foil comes in a range of colors, gold, silver, copper, rose gold, even holographic finishes, and it stays brilliant because there’s nothing to fade or absorb into the paper.
Why foil stamping is worth considering:
- It instantly communicates quality and premium craftsmanship
- Works beautifully with clean, minimalist designs
- Small applications cost less than you might think
- Available in multiple metallic and specialty finishes
The trade-offs:
- You’ll need a custom die made for your specific design
- Tooling adds time and upfront expense
- Best used sparingly on logos and key brand elements
If you’re selling candles above the $35 price point, foil stamping pays for itself. One client added gold foil to just their brand name on a matte black box—their cost increased by roughly fifty cents per unit, and they raised their retail price by eight dollars. That’s the kind of return that makes a CFO smile.
Embossing and Debossing
Embossing raises your design above the box surface. Debossing presses it in. Both techniques create texture without adding any ink, though you can combine them with printed designs for even more impact. The result is packaging that engages the sense of touch, which is something standard printing simply can’t replicate.
When embossing or debossing works best:
- Your design is simple and logo-focused
- You’re using uncoated or kraft paper that takes texture well
- You want a sophisticated, handcrafted feel
- You’re willing to invest in custom tooling
What to watch for:
- Tooling costs are similar to foil stamping
- Complex artwork doesn’t translate well to these methods
- The effect works best on thicker, textured materials
I’ve recommended embossing to countless candle brands, and the feedback is always the same: customers mention the packaging. They remember how it felt in their hands. That tactile connection creates a lasting impression that a flat printed box simply cannot match.
Quick Reference Comparison
Choosing Based on Your Business Situation
Small Brands and Startups
Digital printing is your entry point. No plates to buy, no minimum quantities to stress about, and turnaround times that let you get products to market quickly. Use digital for your initial run, gather real-world feedback, and refine your design before you commit to a larger offset order.
The most successful small brands I’ve worked with treat their first packaging order as an experiment. They keep quantities low, learn what works, and scale up once they’ve proven their product. That approach saves money and reduces risk.
Luxury Candle Brands
A premium candle box often needs a mix of print and finishing. Offset printing can take care of the colour and artwork, then foil or embossing can be used where you want the eye to land, such as the logo. The result feels more considered than a standard printed carton.
One project used offset for the full box design, gold foil on the brand name, and a soft embossed texture in the background. It was not the cheapest option, but it gave the product the kind of finish customers expected from a more expensive candle.
Eco-Friendly Brands
The ink and coating matter just as much as the board itself. Soy-based and vegetable-based inks are a better choice than petroleum inks because they release fewer VOCs and print well on uncoated paper. For added protection, a water-based coating can be used without covering the box in a plastic layer that makes recycling harder.
Kraft paper and recycled board materials tell your sustainability story better than any printing technique. And digital printing’s print-on-demand model means you never overproduce and waste materials—a genuine environmental advantage for small-batch releases.
Bulk Orders Over 5,000 Units
Offset printing is almost always your best option at this scale. Setup costs get spread across so many units that they become negligible, and your per-box price drops substantially. If your design is simple and you’re using corrugated materials, flexographic printing may save you even more.
Practical Tips for Better Results
Getting Colors Right
Pantone matching gives you exact, predictable color every single time. CMYK is fine for photographs and gradients, but if your logo uses a specific shade that defines your brand, lock it in with a PMS number.
Always request a physical proof on your actual material. Colors shift dramatically between different papers and coatings, and what looks perfect on your monitor could look completely different on kraft board or textured stock.
Artwork Preparation
Vector files are essential for logos and text. AI, EPS, or PDF files with embedded fonts ensure everything stays sharp. If you’re using photographs or raster images, confirm they’re at least 300 DPI at final size. Low-resolution artwork is the most common reason packaging looks amateur.
Material Considerations
Coated papers produce the most vibrant colors and sharpest details. Kraft paper gives you a natural, organic feel that resonates with eco-conscious consumers. Textured papers add elegance but don’t always work well with digital presses. Metallic papers require UV printing or foil stamping because standard inks simply won’t adhere properly.
Sustainable Printing Options Worth Exploring
Soy-based inks are the most widely available eco-friendly option. They produce rich, vibrant colors and biodegrade more easily than petroleum alternatives. Vegetable-based inks are equally sustainable and readily available from most commercial printers.
Water-based aqueous coatings give you gloss or matte protection without the environmental baggage of plastic laminations. They’re fully recyclable and don’t interfere with paperboard recycling streams.
Recycled paperboard and FSC-certified materials are becoming more affordable and widely available. Kraft paper has surged in popularity as consumers increasingly value packaging that looks and feels sustainable.
Digital printing contributes to sustainability through print-on-demand production. You print exactly what you need, when you need it, which means no excess inventory, no obsolete packaging, and no waste from overproduction.
Common Mistakes to Avoid
Pricing based only on per-unit cost. I’ve watched brands choose a printing method because the per-box price looked lower, completely ignoring upfront setup fees that would have been recovered within the first thousand units. Calculate total cost, not unit cost.
Approving without material tests. A proof on glossy coated paper tells you nothing about how your design will perform on uncoated kraft board. Insist on seeing samples on your actual packaging material. It’s the only reliable way to evaluate color, sharpness, and finish.
Using every premium finish at once. Foil plus embossing plus spot UV can look cluttered and cost a fortune. Pick one or two techniques and use them with restraint. Designers call this editing. You should too.
Ignoring reorder planning. If you expect to need more boxes later, ask about plate storage. Most printers will hold your plates for six months or more at no additional cost, saving you from paying setup fees on your next order.
Final Advice from Someone Who’s Been Doing This a Long Time
Here’s what I tell every candle brand owner who sits down with me for the first time: start with your numbers. How many boxes do you actually need? Under five hundred? Digital printing is your path. Over a thousand? Offset printing starts making real sense. In between? Get quotes for both and do the math on total cost.
Next, think about your brand positioning. If you’re competing on price, keep your packaging simple and save your budget for other priorities. If you’re competing on experience—on the feeling your customer gets when they pick up your product, invest in those tactile finishes. Foil, embossing, spot UV. Those details create a connection that stays with people long after they’ve thrown the box away.
And please, get physical samples before you approve anything. I’ve seen countless brands rush into production without testing, only to discover that their design looks completely different on actual packaging material. The sample is your insurance policy. Use it.
Once you’ve settled on your method and finishes, find a printer who communicates clearly and delivers on their promises. Give them clean artwork, stay engaged through the proofing stage, and don’t be afraid to ask questions.
Frequently Asked Questions
Offset is normally used when the design has lots of small detail, photography, or smooth shading. For a few hundred boxes, digital may be the more sensible route and can still produce a sharp finish.
Usually digital. There are no plates to make, which means fewer setup charges. That helps when you are testing a product and do not want to order a large batch straight away.
They can, although not every supplier offers the same choices. Ask whether soy-based or vegetable-based inks are suitable for your chosen board and printing process.
Keep the special finish small. Foil on the logo or embossing on the name often does more than several finishes used at once. Spot UV can also work on one small part of the artwork.
With embossing, the design is pushed outward. With debossing, it is pressed into the material. No extra printed colour is needed to create the texture.
Digital printing typically takes 2 to 5 days. Offset printing runs 7 to 14 days. Adding foil stamping or embossing extends timelines by 1 to 3 days for tooling.
Yes, and it creates a striking contrast. The combination of metallic foil against natural brown Kraft has become a very popular look in the candle industry.